Nowadays, more digital point and shoot cameras are now equipped with manual functions. These manual functions allow you to be more flexible and creative in your approach to photography, enabling you to change the shutter speed, aperture and ISO. However, what exactly do these settings mean? And how does changing one of these settings affect the others? Here is a simple, no fuss look at shutter speed, aperture and ISO, and how the three work together to achieve the correct exposure.
Shutter Speed
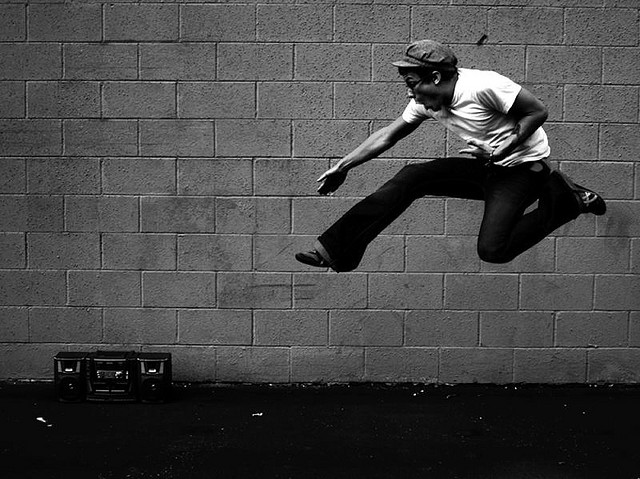
Shutter speed is probably the easiest setting to understand. It simply measures how long the camera’s shutter is open for. A fast shutter speed of 1/1000 second is also known as a short exposure time and allows you to ‘freeze’ moving objects.
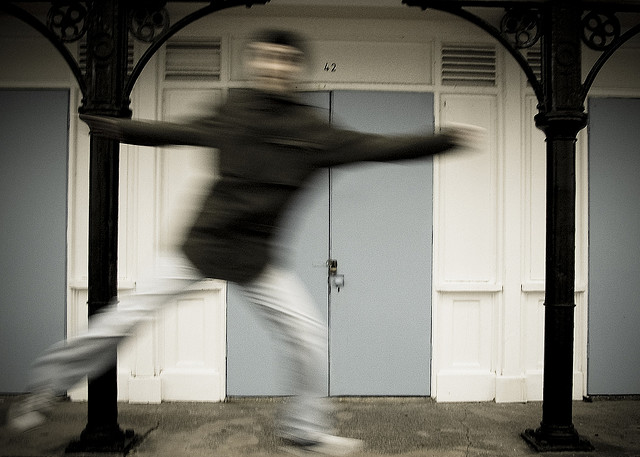
A slow shutter speed, like 5 seconds, is referred to as long exposure time. Although a slower shutter speed captures more light and details, it is also prone to motion blurs so a steady hand or a tripod is recommended.
In a nutshell, think of the shutter speed as your eyelid – it controls the amount you see by closing or opening your eyelid.
Aperture
If shutter speed refers to your eyelid, then aperture is best explained as the pupil of your eye. Every camera has a ‘pupil’ that changes diameter from wide aperture (letting lots of light in) to narrow aperture (letting less light in).
Photo thanks to Wikipedia
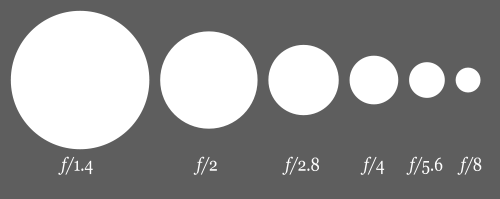
Shutter speed is measured in seconds, and the aperture diameter is measured by an f-number. A smaller f-number, like f1.8 or f3.2, refers to a wider aperture. While a high f-number, like f8.0, f22, refers to a narrower aperture. This is because the f-number is calculated by dividing focal length over the aperture diameter.
A wider aperture (f1.8, f2.0) decreases the depth of field, so less amount of the scene will be in focus. This creates ‘bokeh’, the nice kind of blur or ‘creaminess’ you would often see in portraits and close-ups.
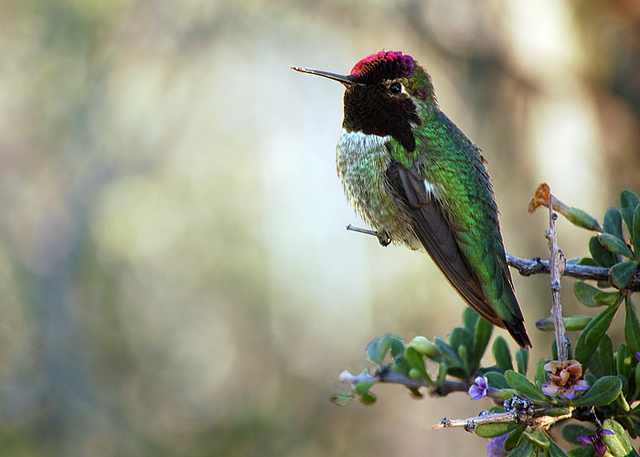
If you are shooting landscapes or wanted more subjects to be in focus, then choose a narrower aperture (like f11, f22).
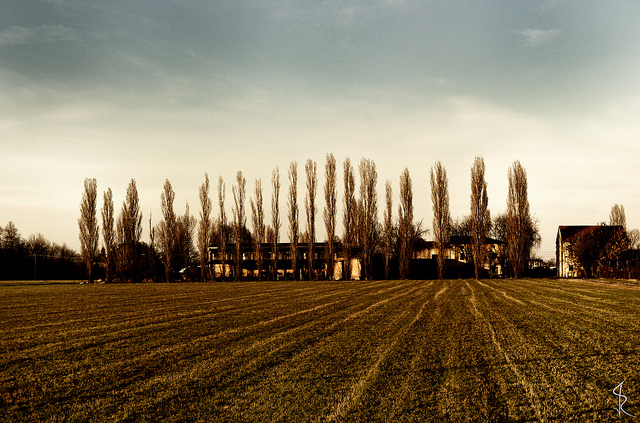
Aperture and shutter speed work collectively together to form a correct exposure. In a nutshell, by moving one f-stop up, you are doubling the amount of light being let in, thus you would need to halve the shutter speed to keep the exposure constant. And by moving one f-stop down, you are halving the amount of light being permitted; thus, you would need to double the shutter speed.
ISO Setting
ISO is a term that came from traditional film photography. It indicates how sensitive a film was to light. The lower the ISO (100, 200), the less sensitive it is to light. In digital photography, the ISO measures how sensitive the image sensor is. It’s the same principal as film photography. If you wish to capture more light in a dark environment, you would have to increase your ISO setting.
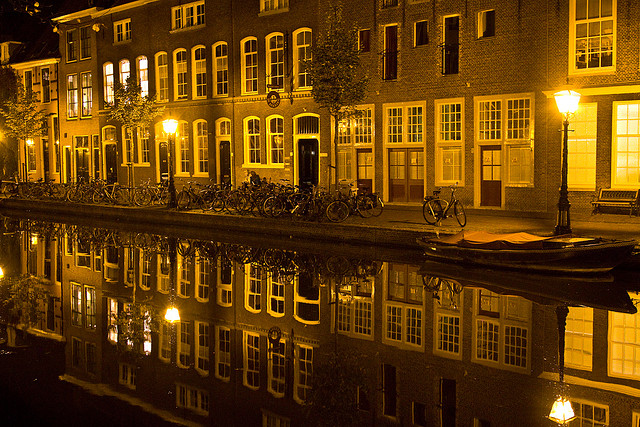
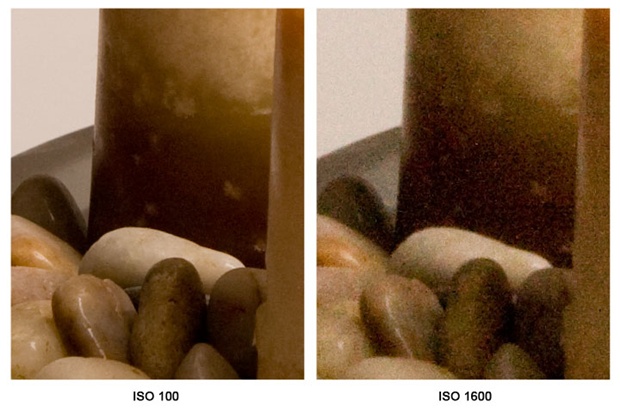
Now, before you crank up the ISO at any photo opportunity, you’d need to be aware that the higher the ISO, the more noise you’d have in your photos. The specks and graininess become more apparent when you enlarge the image. Generally speaking, you would have the ISO as low as possible.
Photo thanks to Geek Inspired
Correct Exposure
Having the correct exposure is about having enough light in a photo. Over-exposed photos are bright, harsh and can look washed out. Whereas under-exposed photos are too dark to pick up on details.
Shutter speed, aperture and ISO work together to bring out a nicely exposed photo. But how do you go about in doing so?
Here are steps I usually take to decide on the right setting for the photo I’m trying to achieve.
Step 1: Adjust the ISO first
When you’re shooting a series of photos in a consistent environment, there’s no need for you to constantly play around with the ISO.
Before you begin shooting, determine the ISO first (remember, the lower the better). A bright environment with plenty of light might just need an ISO of 100 or 200. Whereas an indoor environment would be 400 to 600, and night photography would require 800+.
Step 2: Figure out what you want to capture
Next, you would want to think about your subject. If it’s landscape, you would want a narrower aperture (like f10) to allow more light and details. Or if you wanted to create the bokeh effect, you would have a wider aperture (like f1.8). Then, you would adjust the shutter speed accordingly.
Sometimes with moving objects, you might approach this the other way, thinking about shutter speed first before playing around with the aperture. Take a dancer for example. If you wanted to capture her in mid-air frozen, then you would need a faster shutter speed. Whereas if you wanted to create blurs from her movements, then you’d choose a slower shutter speed.
If changing the aperture and shutter speed isn’t creating the desired effect you want, you might need to go and adjust the ISO again.
Now, these aren’t step you must follow every time, but it’s a good start for beginners. Adjusting the settings might be confusing initially, but lots of practice will have you turning those setting dials like a pro in no time.
Do you have any more tips to add?


