5 Easy Steps to Create a Mini Panorama Planet in Photoshop
Last week, we ran a feature on mini panorama planets. This week, we’re going to show you how to create your own using any landscape photo and a little help from Photoshop. It’s easy, fun and addictive! The hard part is actually picking out a photo that would be appropriate for this fun photo project.
1.) Choose a good photo
I admit that my original photo of the New York skyline failed as it wasn’t panorama enough. After some trial and error, I’ve decided to go with this photo by • estatik •
Here are some tips for choosing a good photo for this project so you won’t run into any failed-attempts:
- The width needs to be longer than the height, by at least two times. The wider the photo, the better. So don’t be afraid to use the panorama setting on your camera or the stitch-tool on Photoshop to create a super wide shot.
- The bottom area of your photo will be distorted the most, so make sure there aren’t too many fine details as they’d be squashed.
- The top quarter of your photo should be consistent with detail and color as that would surround your planet. Preferably the top quarter should just be one color like the sky.
- The left edge should somewhat match the right edge as the two would come together. Also make sure that the horizon is perfectly straight.
2.) Re-size and Rotate the photo
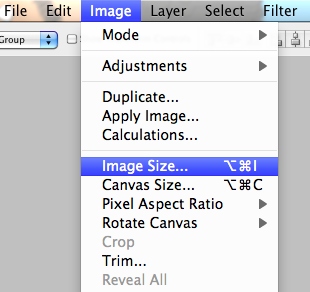
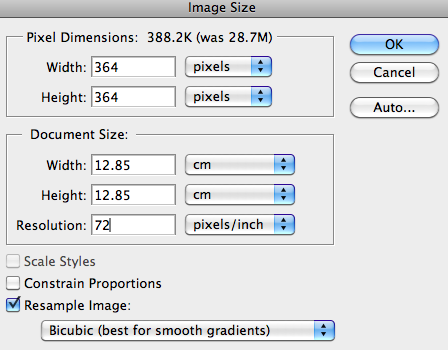
Open the photo in Photoshop. We’re going to prepare it for the Polar filter by firstly resizing it into a perfectly square image, setting the width exactly as your height
Image > Image Size [Untick Constrain Properties] > Enter the width same as the photo’s height
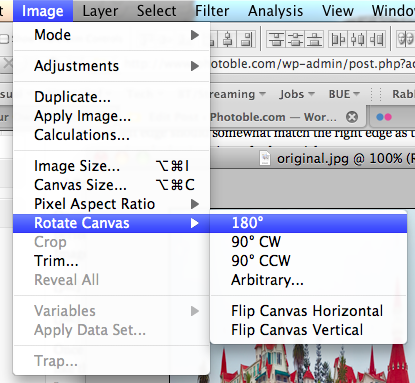
Once you’ve done that, we want to rotate the canvas 180 degrees.
Image > Rotate Canvas > 180
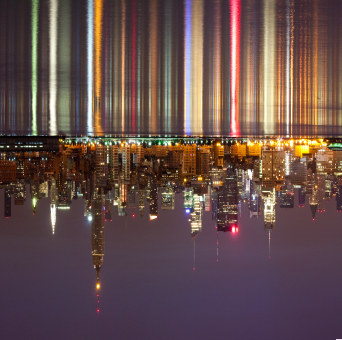
You should end up with something like the below pic.
3.) Apply the Polar Filter
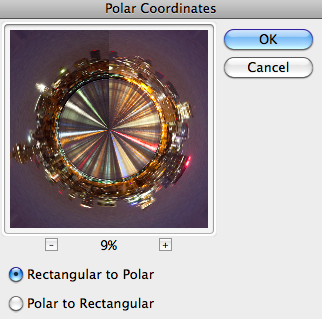
You’ve probably done most of the hard work. Now, just apply the polar filter.
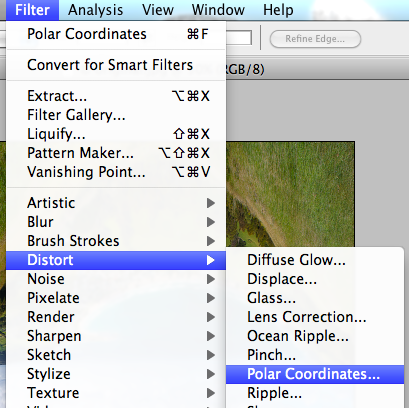
Filter > Distort > Polar Coordinates > Select “Rectangular to Polar” setting
4.) Fix and clean with the Patch tool
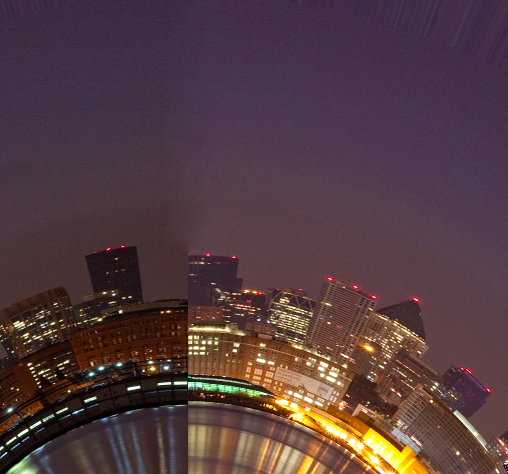
If there’s a color variation or your horizon wasn’t perfectly straight (or both!), you’d notice a harsh “line” straight down in the center. Not to worry as we’d use the Patch Tool to fix that up. Select it.
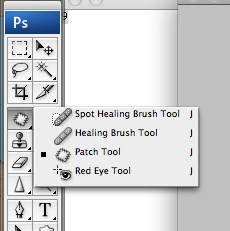
Now just go around the area where the line is predominant.
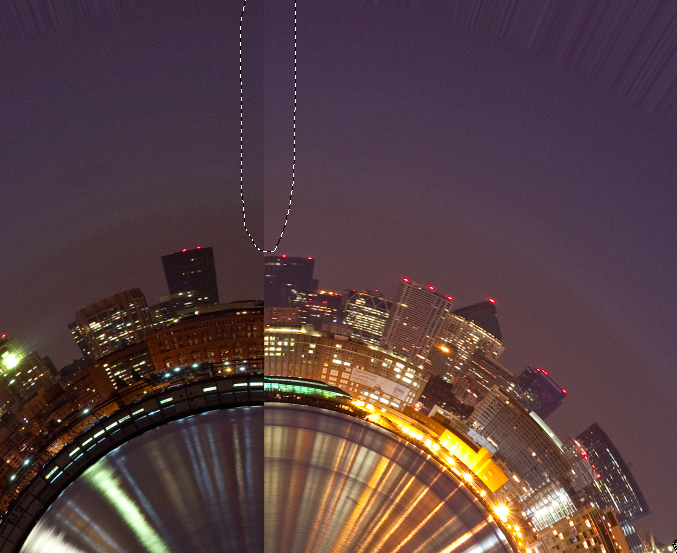
Next, drag the outline to a spot next to it and let go. The line should be less obvious now.
5.) Finally, crop and rotate
Finally, crop the photo tightly and you might like to also rotate it again.
And there you have it, your own mini panorama planet!

