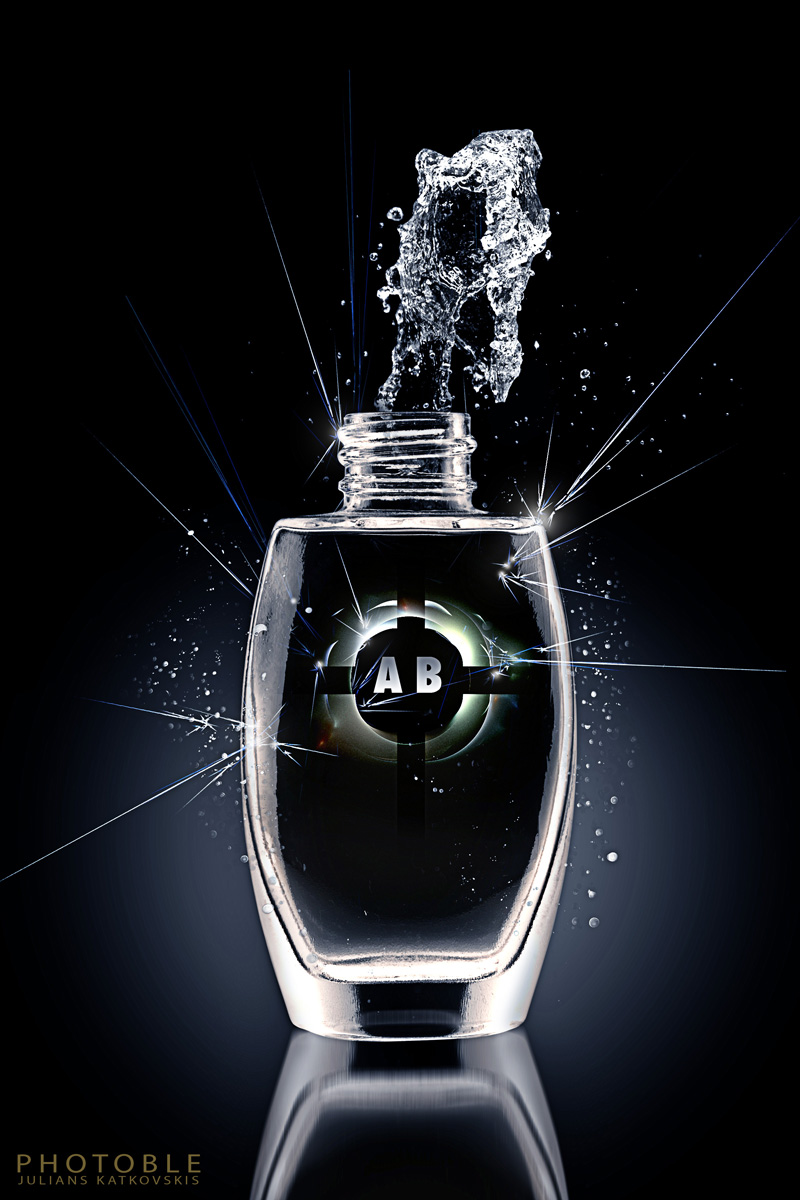
This tutorial shows how to make cool ad or poster and as example I will make it to look like Absolut Vodka. We will start with stock photo of a simple bottle, invert the colors and combine it with sparkles,glows and water drops. And you will see how easy it is to give to the product a professional look . Let’s have a look !
Final Image
Step 1 : Positioning
- Create new white blank Photoshop document (2000 x 3000 px)
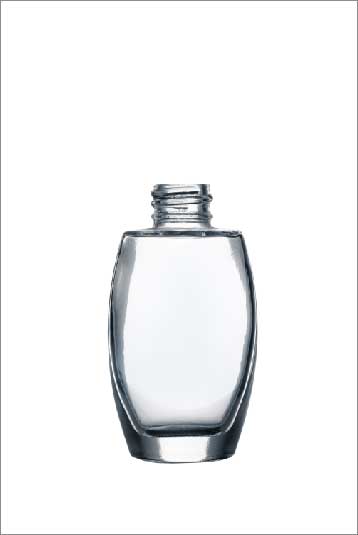
- Add the bottle picture:http://www.sxc.hu/photo/1072659
- Centrate the bottle and place it as shown in the picture below.
Step 2 : Adding elements
- Duplicate bottle layer and set it’s blending mode to Darken
- Free transform it Edit>Transform>Flip vertical
- Position it and add motion blur Filter>Blur>Motion blur
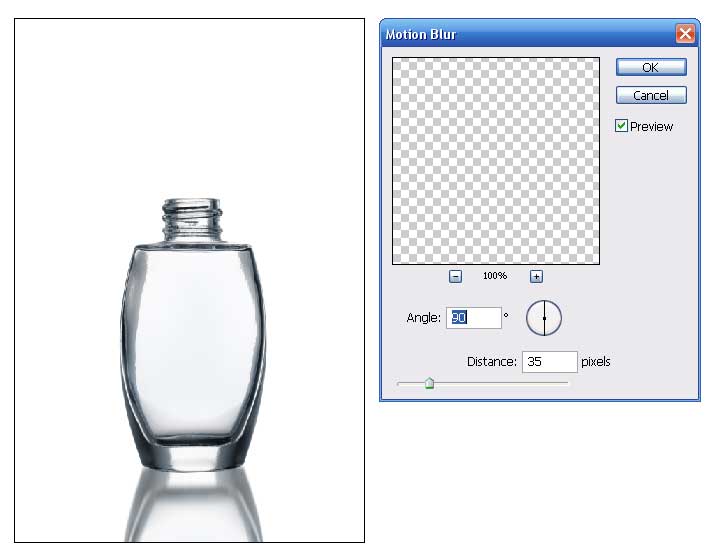 Add new layer and fill it with white and set blending mode to Difference, and you will get this kind of effect. Cool ha!
- Next I inserted one of my images I created to fill the centre.
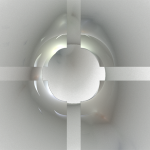
- Position it, mask it and put the Hard Light blending.
- I am using only Layer mask to remove unecessary parts. No erasing.
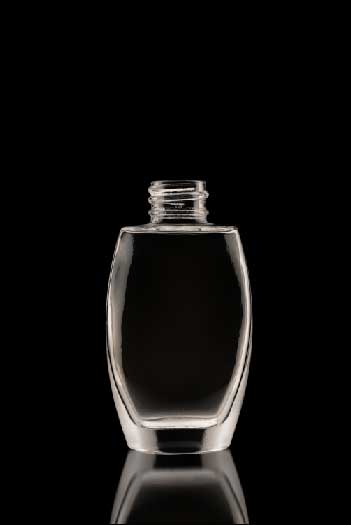
- Add Level Adjustment layer, and make bottle bit brighter, and later balance it with water splash layer.
- Add water splash image and put the Luminosity blending mode.
http://www.sxc.hu/photo/1254266 - Add Level Adjustment layer and alt+click between water splash layer to affect only that layer, and adjust it.
- Add new layer, fill it with Radial gradient, grey to black, and also Luminosity blending. Apply Layer mask and remove the bottle.
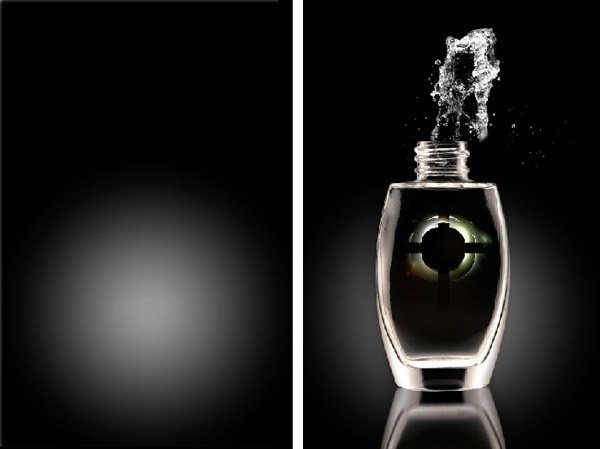
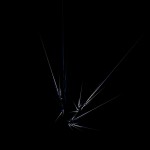
- Add sparkles. Put the Screen blending mode.
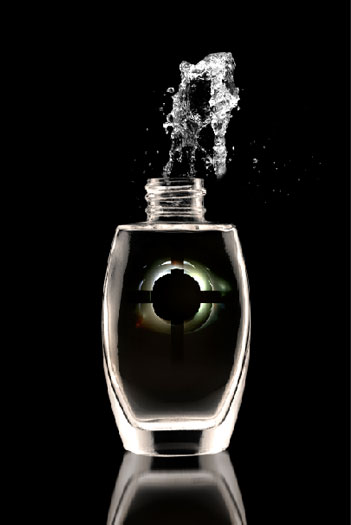
Step 3 : Details
Now let’s make waterdrops, there are several ways to do, and which one is more realistic – depends. But I will take, not the best picture to take the drops out, so to show that result is not that bad at all. It’s better if you have plain backgrounds, white or black.
http://www.sxc.hu/photo/1115472
- Insert the picture, scale it and rotate, edit>transform>scale or warp if you want.
- Select this layer , Ctrl+click the layer
- Ctrl+C (copy)
- Select the Channels tab and Create new channel
- hit Ctrl+V (paste)
- then hit Ctrl+L (levels)
- Adjust levels to get the picture similar as shown below and press OK
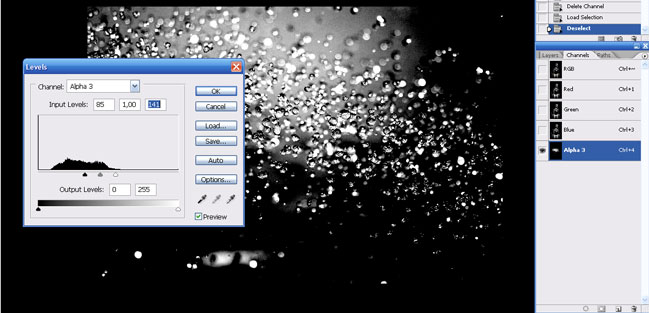
- Now you have selection. Hit Ctrl + C, hide Alpha channel and make visible RGB.
- Return to Layers Tab and Create new layer and hit Ctrl + V
- Now you have pasted mainly highlights and some midtones.
- Mask the layer and play with opacity.
Step 4 : Finalizing
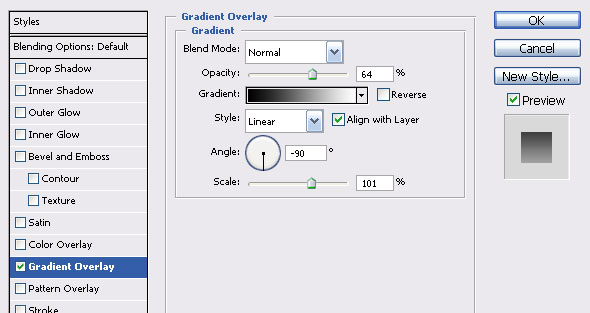
- Add Color Balance Adjustment layer, and this will make all picture a little bit bluish
- Flatten and sharpen the image
- Result
Conclusion
I covered some techniques that are possible to use to get this result. Later on you will see more and different ways to do similar things. I hope you liked this article. +}


Pingback: Magazine Car Advertisement PhotoShop Tutorial