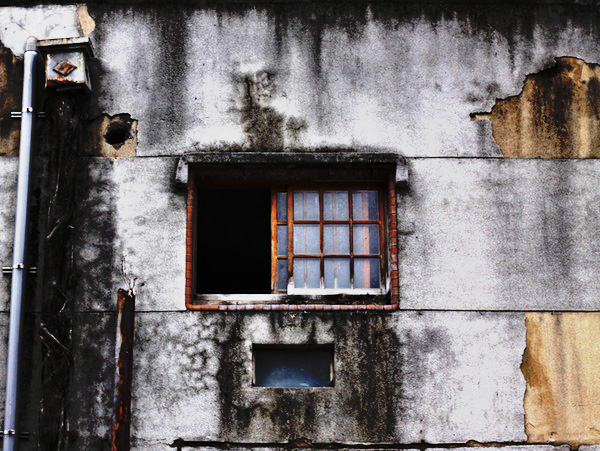
Fake HDR Effect in Photoshop
HDR stands for high dynamic range. It’s basically an image with dark blacks and bright whites. This creates a strong contrast between the colors and tones. HDR is usually achieved by taking two images with different exposure brackets. One photo being under-exposed, and the other over-exposed. Then, lots of tweaking and rendering in Photoshop.
However, this tutorial would show you the cheat way to create an HDR effect in Photoshop with just one image. It’s easy, straight-forward and will take you less than 10 minutes. This tutorial is thanks to KolNedra originally spotted on his Flickr.
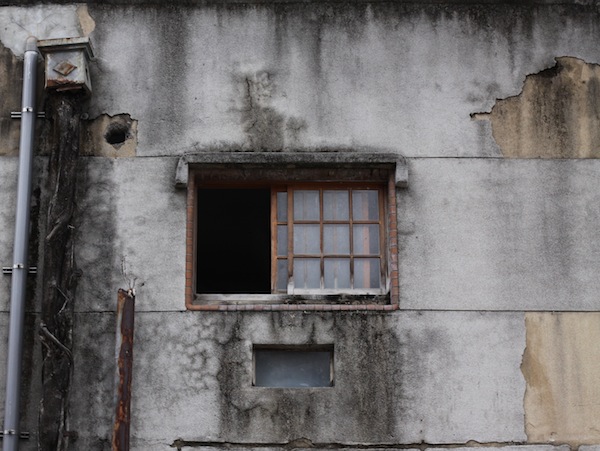
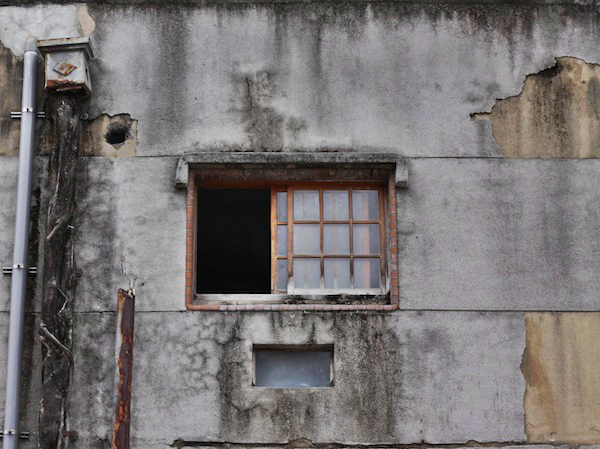
The image I will be using is this one:
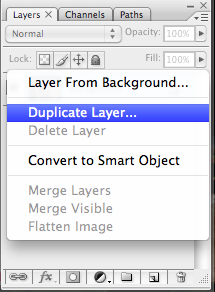
1.) Duplicate the Layer
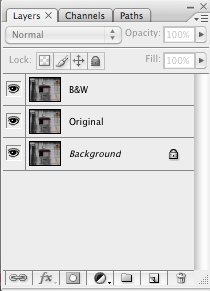
Call the original layer ‘Original’, now duplicate it by right clicking on the layer and call the new layer ‘B&W’.
2.) Adjust the B&W layer
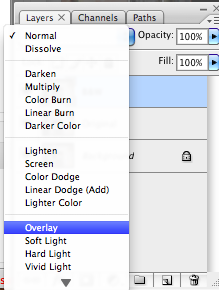
Change the blending mode of B&W layer to Overlay.
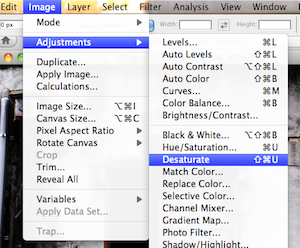
Now desaturate the B&W layer. This will convert it to a black and white image. To desaturate, go to:
Image > Adjustments > Desaturate
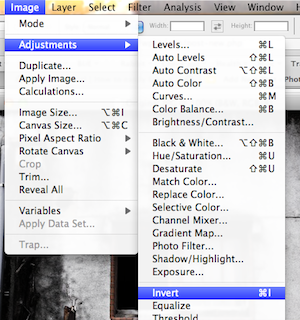
Now, we’re going to invert the B&W layer:
Image > Adjustments > Invert
3.) Gaussian Blur
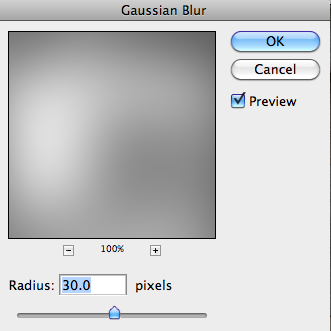
To add Gaussian Blur to the B&W layer, head to:
Filter > Blur > Gaussian Blur
Tweak the Radius amount to around 30 pixels. You can adjust this your own personal taste. Anywhere between 20-50 pixels will create this “glow” around the edges.
You should now have something like this:
4.) Linear Light
Duplicate the Original Layer and call this Layer ‘Linear’. Place the Linear layer above the B&W layer.
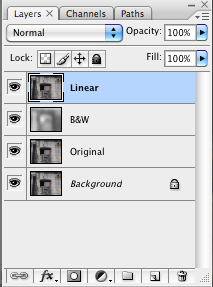
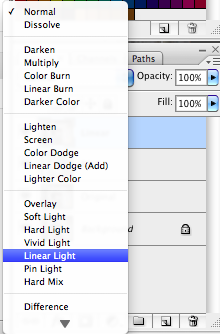
Change the blending mode of Linear layer to ‘Linear Light’.
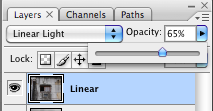
Tweak the Opacity of the Linear layer until you’re satisfied. I’ve made mine 65%.
Once you’re happy with everything, combine all the layers together:
Layer > Flatten Image
And you’re done!
