Digital Darkroom Software Battle – Part 1
Going behind the scenes of spending a beautiful day taking macros of lovely flowers or choosing the proper dress for a gourgeous model will help you to bring your photos to pink of perfection. Let us rise your awareness by giving you guidance about things going on inside digital world’s darkroom. Shall we start?
There are several ways how to take care of your photos and to achieve the best results. First of all, make a good start by taking pictures in RAW file format. What’s and why’s were discussed in “What is RAW and Its Advantages ” post. And secondly, choose the right darkroom or rather – a lightroom. Here’s what I mean. To develop a photograph digitally we usually associate it with processing in Photoshop. It’s definately a good software, but there are more specific and way better ones dedicated to ease our work. In order to do that, here’s what we need:
Library – to keep everything organized and be able to a get quick access
Developing – to process the photos
Exporting – to be able select different options for exporting image
Publishing – easiness and variations to do that
Printing – to make printing directly from library or/and properly to prepare prints.
These are main things that we need and would help us. Now we will take a look at some of the most popular “specific” digital darkrom software :
USER INTERFACE
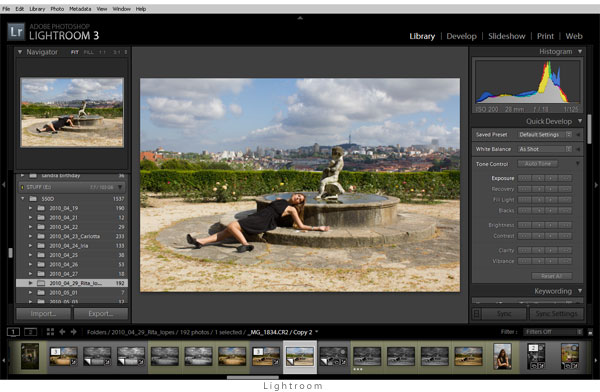
Adobe Photoshop Lightroom 3 : UI is very convinient and customizible, you can hide and reveal panels. It doesn’t support live browsing, so you have to import photos, and specific catalogs are being made in terms to save your time by loading folders, previews and data. Going through library, viewing and zooming are as short as one click. Very good sorting options, you may find your file by very wide range of parameters such as color, rating, camera, file type, name, etc. Overall workflow is enjoyable and easy. Creating virtual duplicate is useful feature for making more variations of one file and not having additional file size. However, Lightroom should improve and combine the library, and develop module so to skip jumping between them all the time.
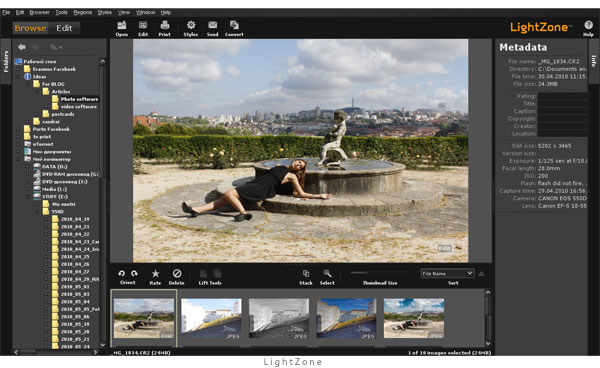
Lightzone 3: Interface panels are well organized, similar to Lightroom but without any panel hiding. Live browsing and scanning the folder everytime is a long-ish process, and you have to know where your file is, because sorting might be done only by rating. LightZone is short of fancy and little necessary things, but when it comes to real development, it shows fantastic results. Greatest feature is to be able to control regions of colors or shades. Workflow is easy. A little bit confusing in the beginning, but once you understand, it makes sense.
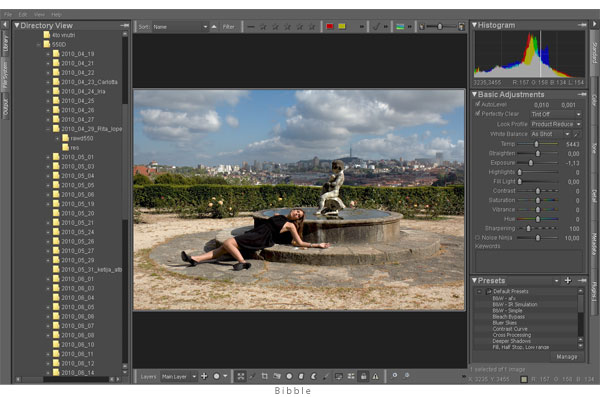
Bibble Pro Version 5.0 : Kinda messy interface, a lot of little buttons scattered around. Some photo viewing layout options seem unnecessary to me, but very important and simple option as zooming is only by draging slider, which I find very uncomfortable. Slow library loading could be improved. What makes Bibble competative is it’s unique feature of being able to use layers.
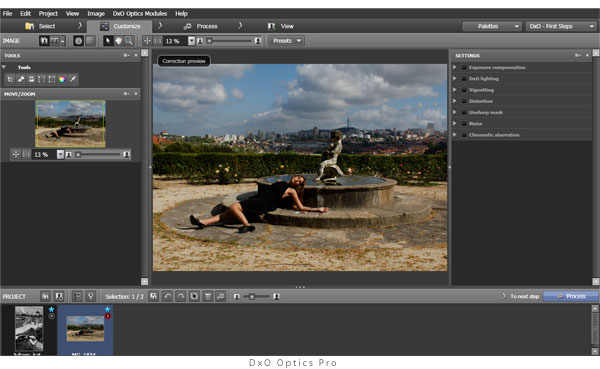
DxO Optics Pro 6: DxO works a little different. You have a live library search, but later you have to add photos to the project, work on photos in project, and export it in them in the end. I find it rather confusing rather than necessary. Interface also is not very intuitive and some functions seem to be in wrong place. I like the before/after compared preview and scroll zoom. However software is really slow and it crashed several times already.
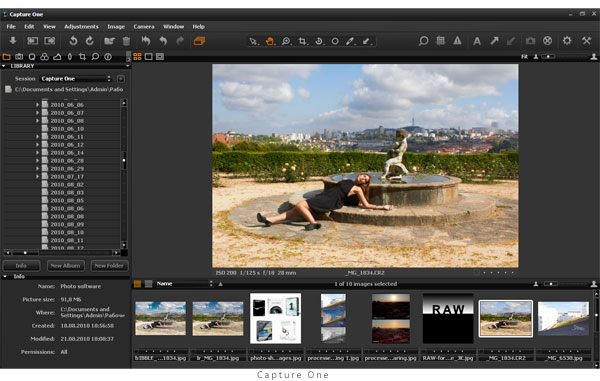
Capture One 5 : No modules, no little confusing buttons, controls are well organized in tabs and you can work with them intuitively. Sorting, zooming and viewing is easy. What you might not find in a second is keywording. This feature was added only in this version, but it stays to be improved. Leaves a good impression to work with it further.
DEVELOPING
HDR
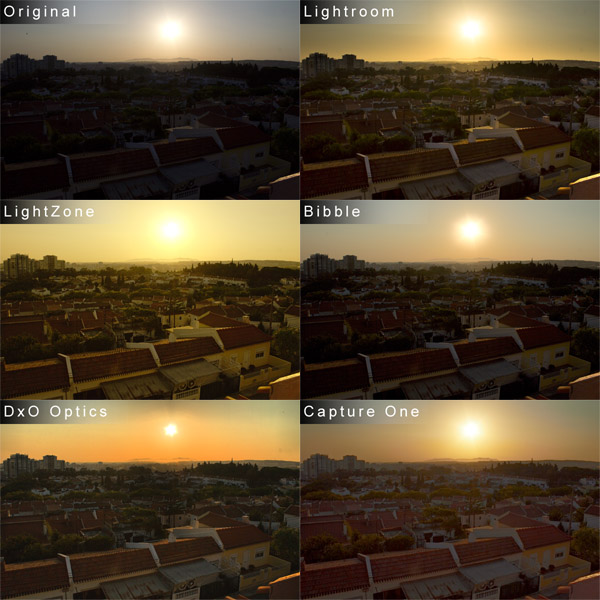
Aim : to get sun darker and city lighter
Final results are different, however, most important is how good and how easy result can be achieved. Lightroom gives good result and it is easily achievable with fill light and gradients. DxO comes next, adjusting is not so intuitive but without any additional tools. And then Lightzone is giving very good adjusting possibilities and pretty good result. Bibble suffers the most.
BLACK & WHITE
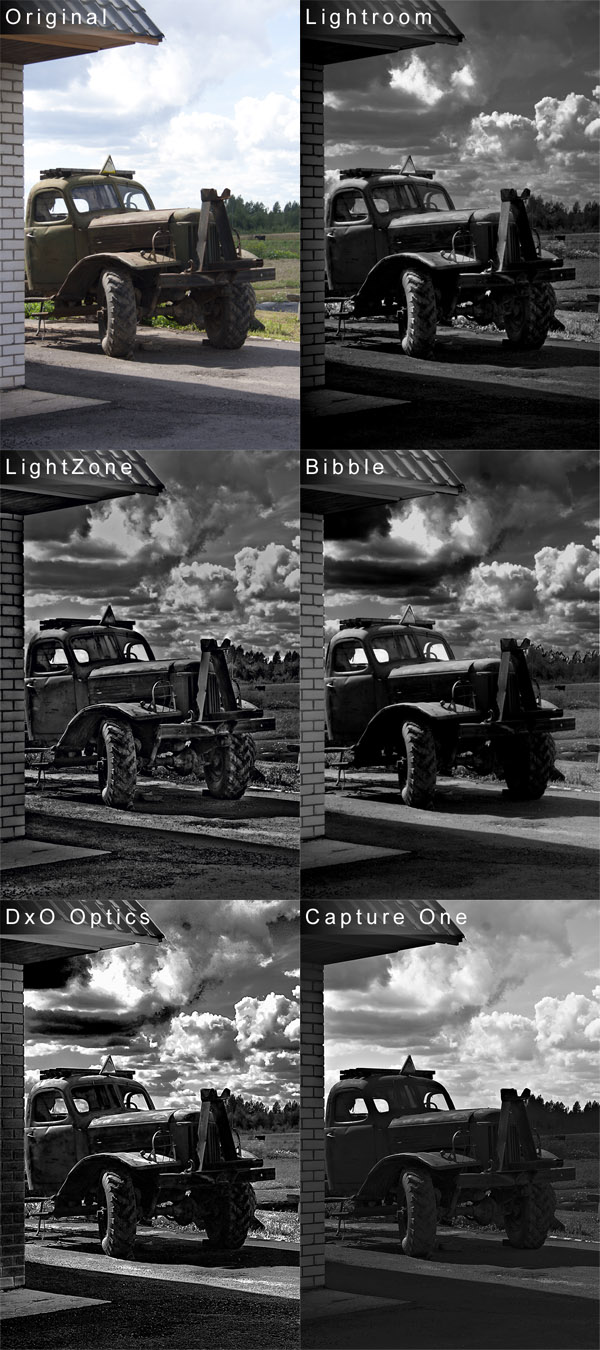
Aim : to get sky darker, make image contrasty, maintain as much detail as possible and accurate
Lightroom is giving smooth results, and to work on BW image is really good option. But I couldn’t get any details in shadows. That’s why I give first place to LightZone. It has very good control over color and shade regions. This is it’s best feature and with that it beats Bibble’s layers. To work with layers is a complex process, same as panning and zooming. And eventually result didn’t satisfy. Then comes DxO, and Capture One is total waste in this case.
HEALING & CLONING
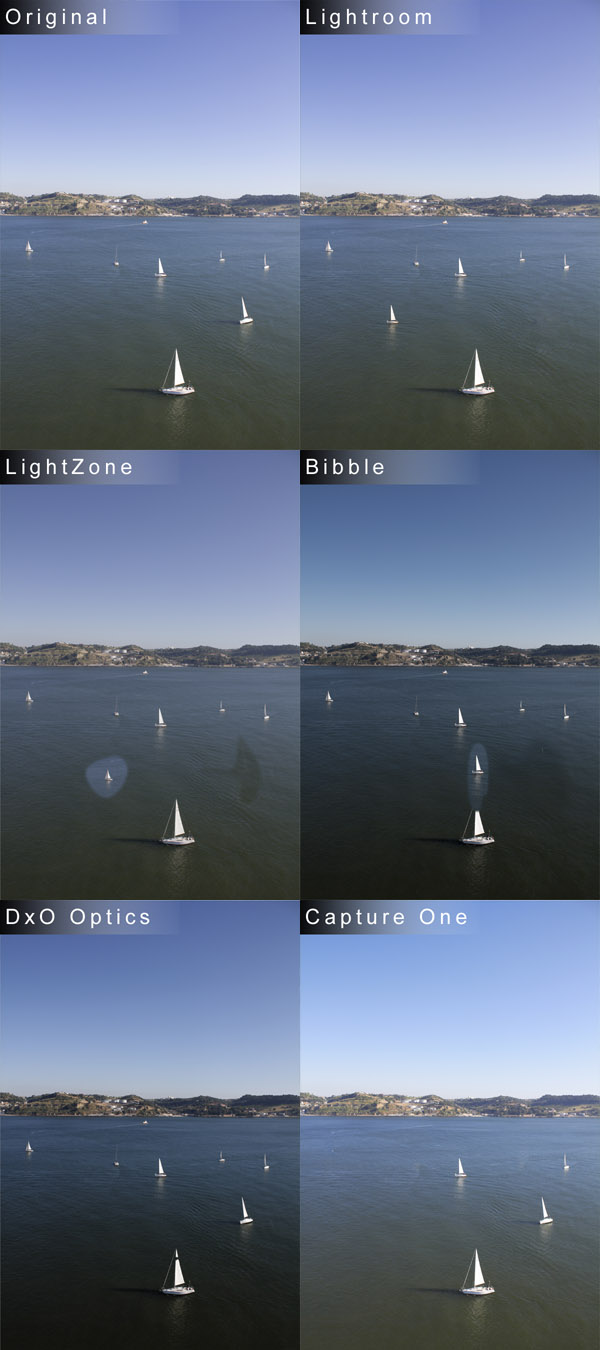
Aim : to heal or clone boats as believable as possible
Lightroom definately wins. It gives the best result, even though it’s not perfect. Tool can be in cloning or healing mode and any size. LightZone only clones, but the good thing is if you need to clone you can change blending mode. DxO and Capture One just can’t make big size brush or regional healing.
NOISE REDUCTION & CHROMATIC ABBERATIONS
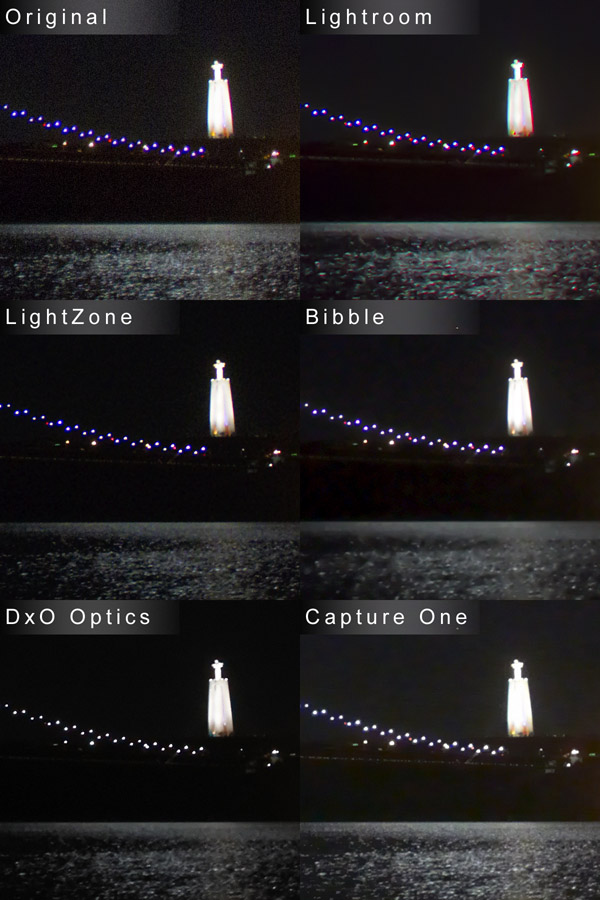
Aim : to get image smooth and with details. Clean blue and purple colors around lights
Lightroom wins again. It does best noise reduction and keeps details. No possibility to make good fix to the chromatic abberations. But Dxo can perfectly do that. LightZone and Bibble’s Ninja Noise also show good results.
SHARPENING
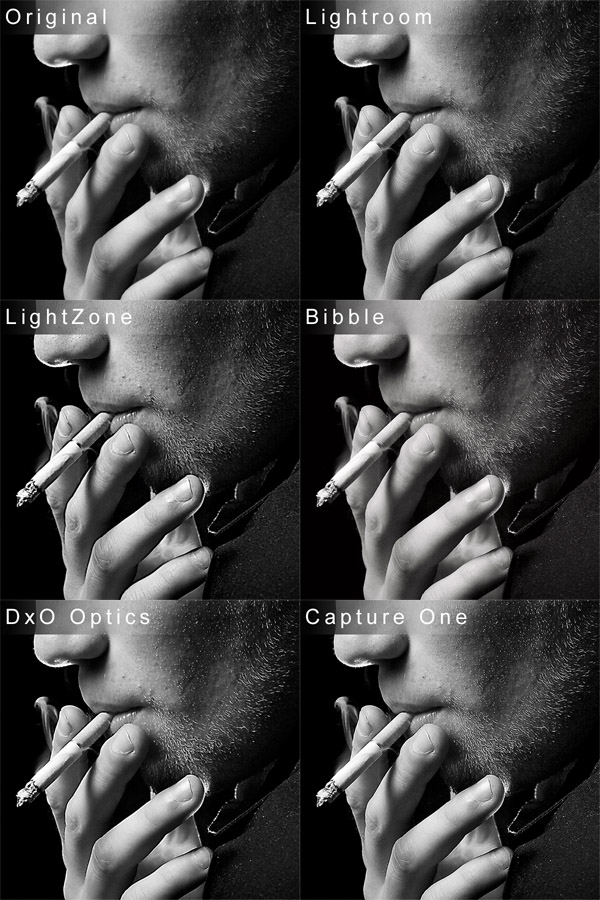
Aim : to get image very sharp
The cup goes to Capture One. Not noisy, detailed and sharp. LightZone with its regional editing can give really interesting look only by rising sharpness. Dxo and Bibble is not very bad, but Lightroom completely useless.
